
 Image 1 of 8
 Image 2 of 8
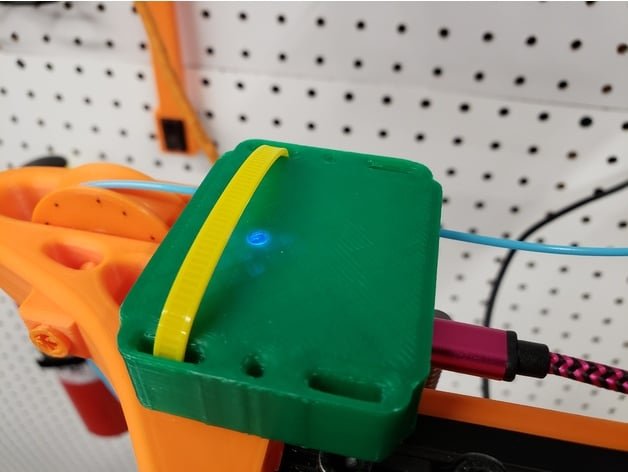 Image 3 of 8
 Image 4 of 8
 Image 5 of 8
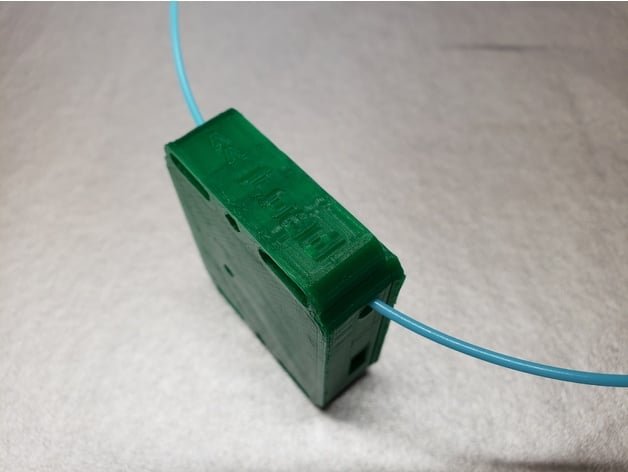 Image 6 of 8
 Image 7 of 8
 Image 8 of 8
Printing Tips
This project was designed to be very simple to build, low cost and an easy beginner project. Once you solder the switch directly to the board you will need to configure the software with your OctoPrint URL and API Key. After it is configured simply burn it to the board and you are ready to go. Can easily be completed in an hour or less (once the model is printed).
The case was designed so you can zip tie it. The nice advantage to that is if you have multiple printers you can swap the runout sensor as needed without having one for each printer.
WeMos style ESP8266 Board I used https://amzn.to/2Icmmuf
Limit Switches Used https://amzn.to/2JP54H1
Source Code For WeMos https://bitbucket.org/rwmech/runoutanywhere/
Filament I used to print this in https://amzn.to/311fQzk
When it comes to hardware, I rely heavily on Bambu Lab 3D printers. My A1 Mini https://rb.gy/uofj5 is a staple in my office, while my fleet of X1C Carbons https://rb.gy/9r2az ensures rapid and high-quality production. #ComissionsEarned which help support my free model development.
Was this model helpful for you? Consider supporting my work in any of the following ways! Even the free options help the channel!
Consider dropping a tip https://koji.to/k/8E9J or consider supporting my ongoing work https://www.patreon.com/makersmashup Purchase anything on amazon after visiting our store page https://amzn.to/429HusI Just click this link first!
No cost option to support my work?
Subscribe to the YT channel
Follow me on Thangs.com
Watch videos on the channel!
Share any of the videos on social media!
Share my models with friends and family!